环境准备
debian 9/5
nginx 1.10.3
php7.0
sqlite3
更新index
apt update安装nginx
apt install nginx安装php及相关依赖
apt install php7.0
apt install php7.0-fpm //为php提供管理服务
apt install php7.0-sqlite //php的sqlite模块(驱动) 如果你用mysql 你就找mysql
apt install php7.0-xml //需要的模块
部署typecho
部署的目录不一定非要是本文介绍的
进入到nginx的root默认目录中
cd /usr/share/nginx下载typecho安装包
wget typecho_install.tar.gz注意这是假地址,不要全部都copy了,从官网复制下载地址,再替换。
解压安装包
tar -zxf typecho_install.tar.gztypecho1.1的版本解压出来的文件夹是build
换个好听文件夹名字好了
mv build blog权限控制
chowm -R www-data:www-data ./blog注意此步可以不做,但是安装的时候会遇到很多问题,需要手动解决
www-data是根据nginx.conf的user得来的,根据不同的情况替换不同的用户
配置nginx
找到你的 nginx配置目录
默认在 /etc/nginx
进入到sites-enabled
我个人习惯就是在这个位置下建配多个配置文件管理不同的服务
当然你可以按照自己的习惯去配置
cd sites-enabled
touch blog
vim blog
具体的配置
server {
	listen 80 default_server;
	server_name blog.example.com #此处可配置你的域名
	root blog; #此处会自动找到 /usr/share/nginx/blog
	index index.html index.htm index.php;

	location / {
		if (-f $request_filename/index.html){
		    rewrite (.*) $1/index.html break;
		}
		if (-f $request_filename/index.php){
		    rewrite (.*) $1/index.php;
		}
		if (!-f $request_filename){
		    rewrite (.*) /index.php;
		}
	}

	# pass PHP scripts to FastCGI server
	#
	location ~ .*\.php(\/.*)*$ {
		include snippets/fastcgi-php.conf;

		# With php-fpm (or other unix sockets):
		fastcgi_pass unix:/var/run/php/php7.0-fpm.sock;
		# With php-cgi (or other tcp sockets):
		#fastcgi_pass 127.0.0.1:9000;
		# 这两个都行 但是同时只能配置一个
	}
}
配置typecho
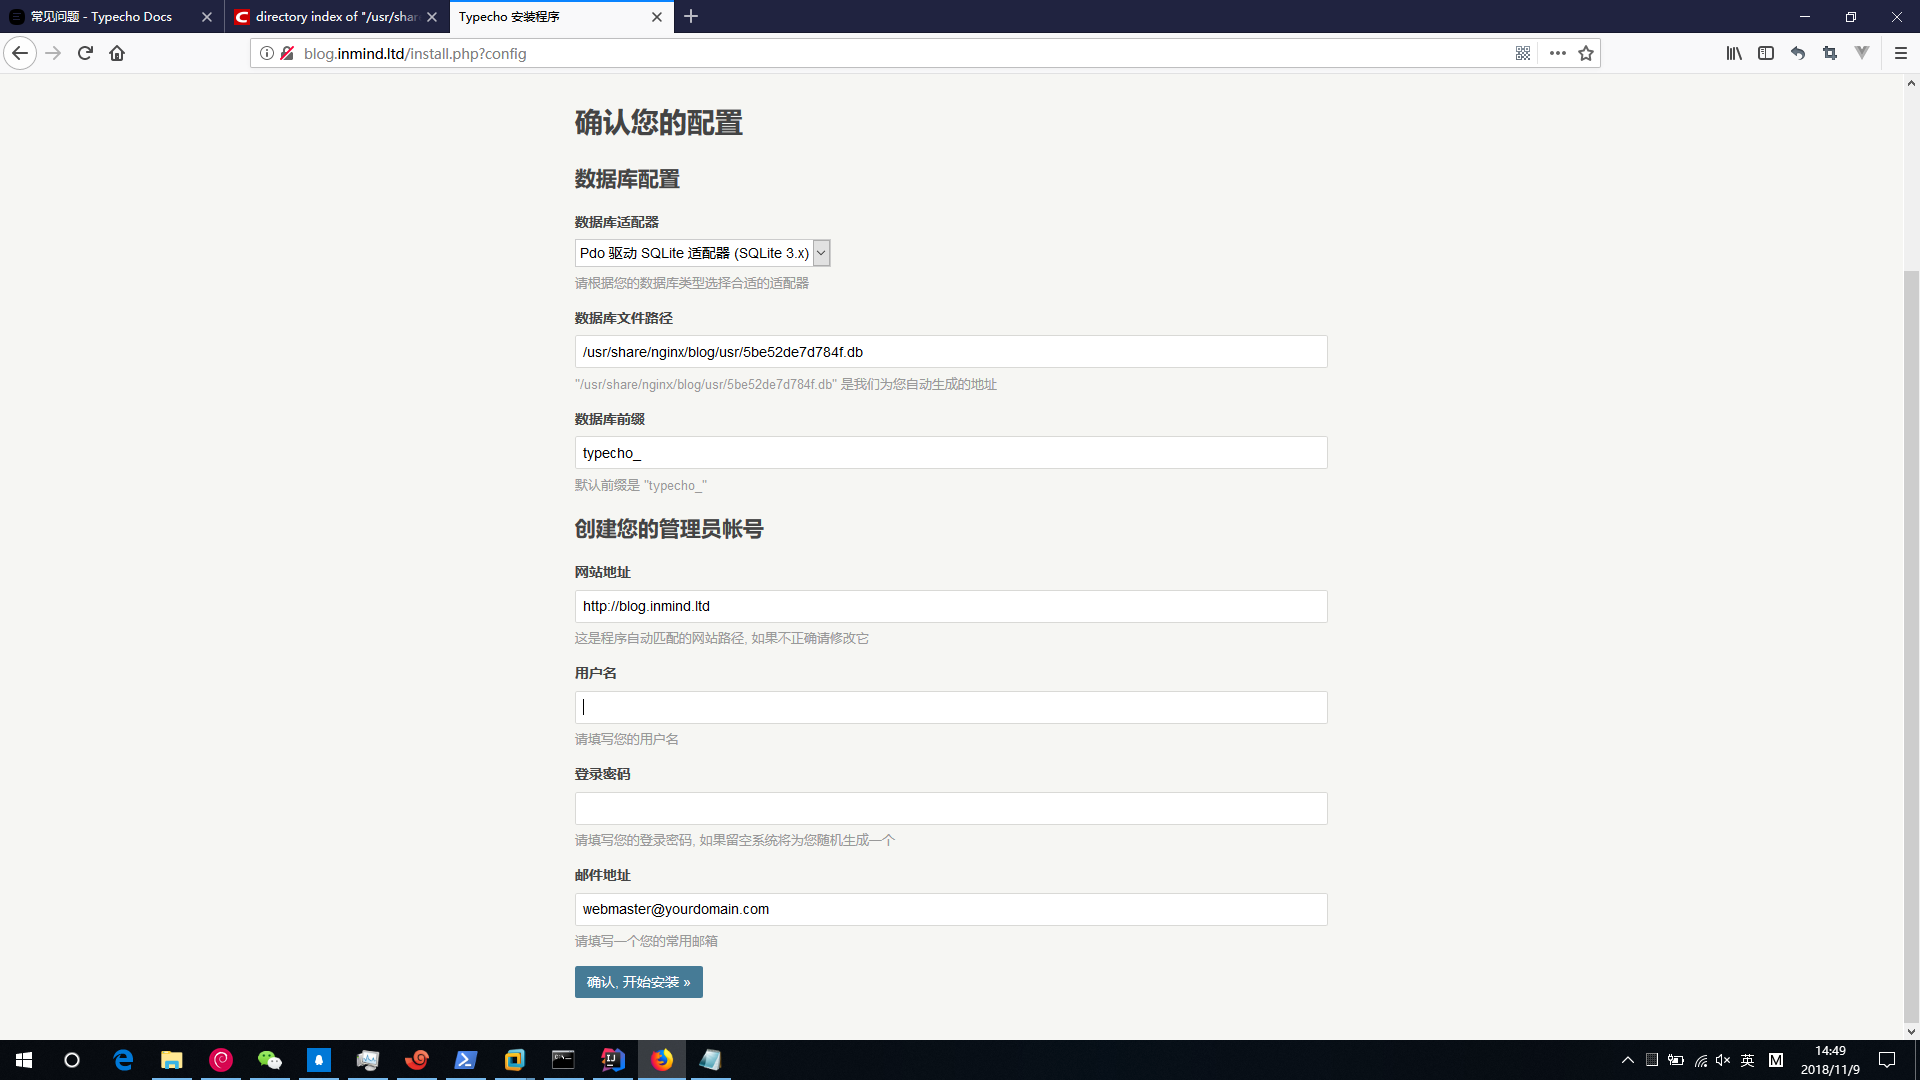
此处使用sqlite,mysql需要额外的配置,请自行摸索
图片位置
只需要输入用户名登陆密码和邮箱地址
点确认,开始安装即可
大功告成
好了,开始使用吧
tips
管理员页面是 域名/admin